Quick note for English readers: This article is primarily in Chinese, but you can easily switch the language option on this site’s top-right corner.
Do you also use Google Photos to back up your phone or tablet photos? This convenient backup method has been a popular choice for many people. I am no exception either.
But have you ever thought about backing up your Google Photos somewhere else, and didn’t know where to start?
In this article, I’ll show you how to download and export all your photos and videos from Google Photos in one go.
Why I decided to backup my Google Photos
Honestly, it’s just fear. I worry that one day my photos could be gone from the cloud, and I’d seriously regret it.
Even though cloud storage is convenient, it doesn’t mean nothing can ever go wrong. That’s why I like to keep an extra copy for peace of mind.
That’s when I found Google Takeout, a tool that lets you download all the data from your albums.
Using Google Takeout
Before you start, you’ll need to sign in to your Google account. Then, head over to Google Takeout to configure your settings. This feature isn’t just for your photos; it also lets you export Gmail, contacts, calendars, and more.
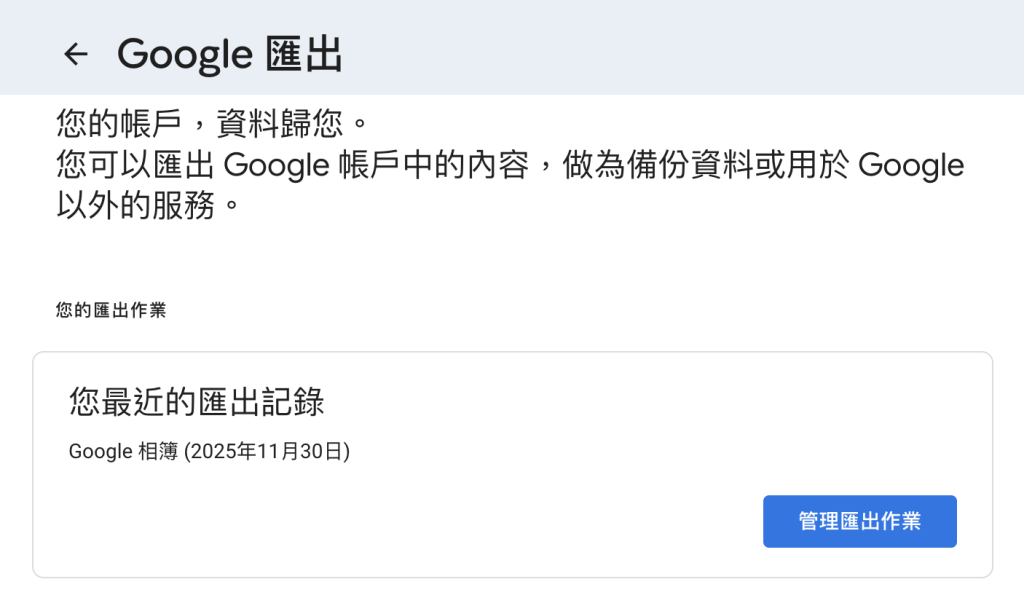
Create a New Export
The first step in creating a new export is to select Google Photos. From there, you can adjust the export formats and choose specific albums.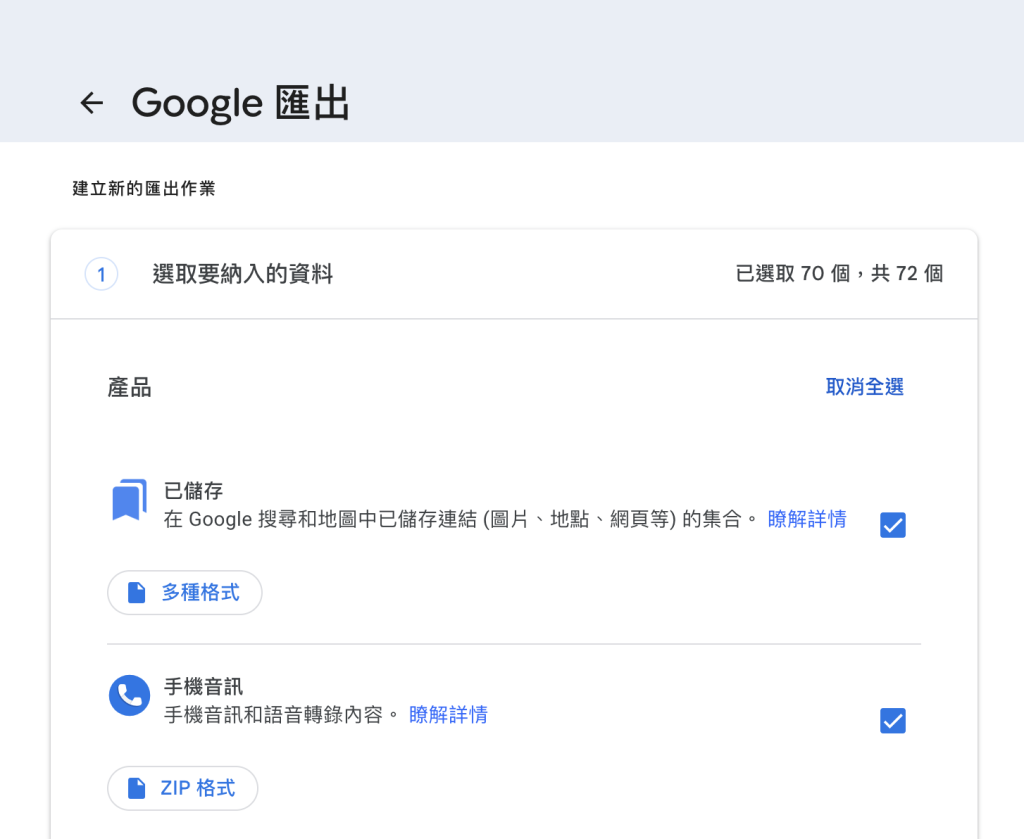

Choose File Type, Frequency, and Destination
I chose "Send download link via email," but you can also choose to transfer the files to Google Drive or other cloud storage services.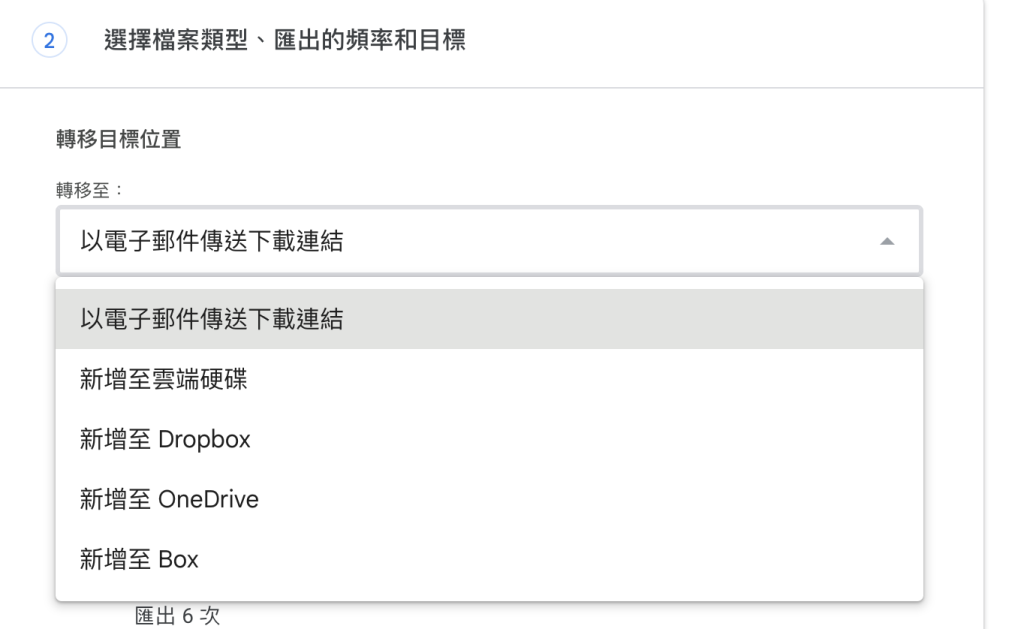
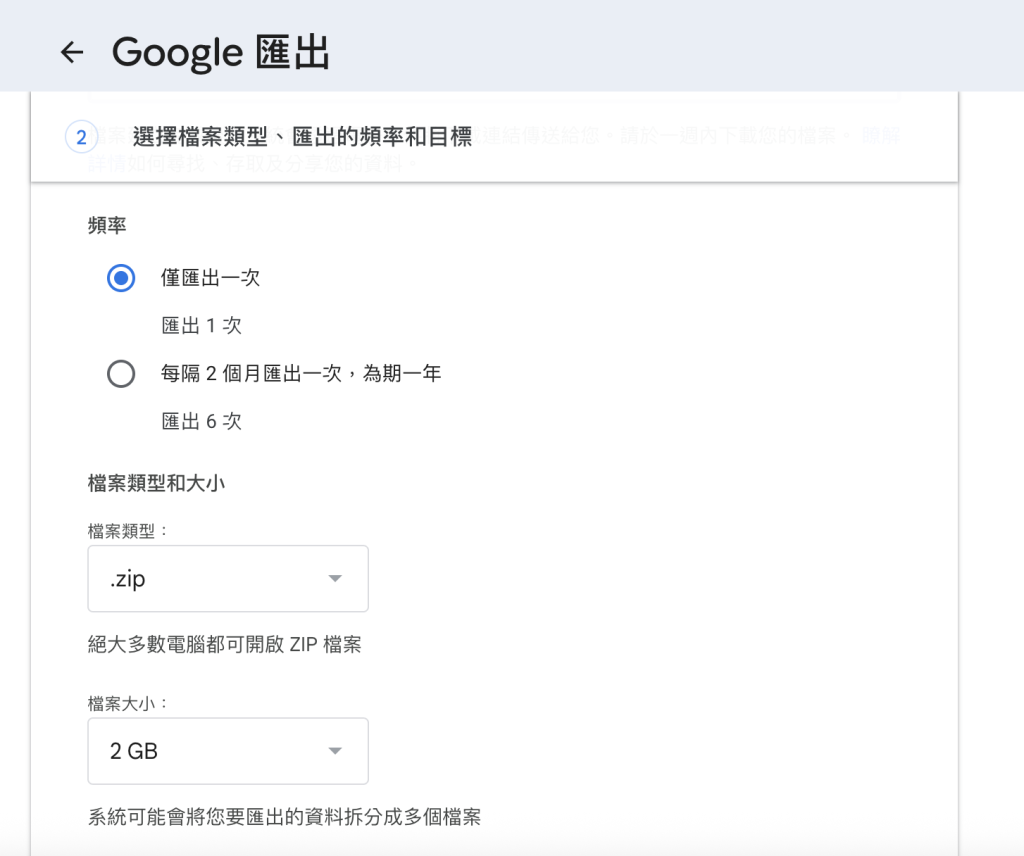
Frequency
Depending on your preference, you can choose to "Export once" or "Export every 2 months."
 .
.
File Type
You can leave this setting as it is and select .zip.
File size
You can choose the size for each individual file based on your preference.Personally, I prefer using 4GB.
For instance, if your album has 100GB of data, you will get 25 separate 4GB zip files for download.
Once you’ve confirmed the settings, just click "Create export" to finish.
Downloading Your Files
At this point, you’ll usually need to wait about 2 to 3 days.
Once your files are ready, you’ll receive an email notification.
The email will include a download link, and it will be available for one week, so remember to download your files in time.
After downloading, when you extract the files, they may be organized by year or by the albums you created in Google Photos.
However, the folder structure can be a bit messy. If you have a lot of files, it can take quite some time to organize everything.
So for my later backups, I actually stopped extracting the files.
Instead, I just store the downloaded files directly on an external hard drive, which also helps save space on my computer.
Final Thoughts
This is the method I use to backup my Google Photos.
Even if I don’t need these files every day, having a backup means I don’t have to worry about losing everything someday.
Regular Backups
Besides exporting your albums just once, you can also choose to export your data every two months for up to a year.
Whenever Google finishes preparing your files, it will send you an email notification. All you need to do is download them when they're ready.
I hope this guide helps if you’re looking to download all your Google Photos files at once. If you’re not planning to back up right now, feel free to bookmark this page and come back to it later.
If you found this article helpful, you can use the button below to copy the link or share it on Facebook with someone who might need it too!
